How to Send a Video by Email with Cheers Video Mail

Cheers Video Mail’s platform is extremely user friendly. It is really simple to record your video message within the Cheers platform and send a video email. And you can also upload a video to the platform. For example, if you have a promo video for your business, upload it to Cheers! It will be saved in your video library for easy sending at any time. 

An immensely popular tool in our platform is the screen recording feature. You can record your screen directly within the Cheers Video Mail platform. This makes it really easy to show your contacts what you’re talking about or you can even use it to deliver a presentation. 

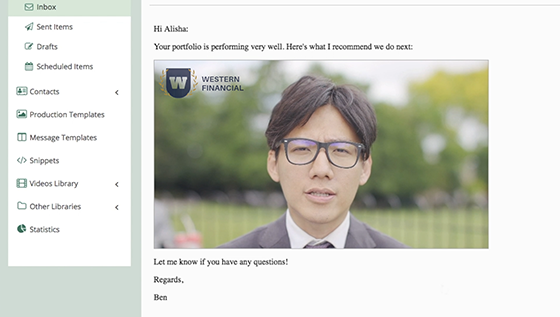
What sets Cheers Video Mail apart from your existing webmail, is the ability for your video to play directly in the email message itself. There is no attachment. It is simply your message and video. 

Video plays directly in the email message


There are a few ways you can record a video in Cheers Video Mail. 

1. From the dashboard


You can click on the “Record New Video” icon at the top of the page to open the recording studio. 

Record new video


To record your screen, click on the “Screen Recording” icon. 

Screen recording


2. From the navigation sidebar


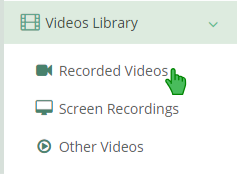
To record your video message, click on the “Videos Library” drop-down, and select “Recorded Videos.” This is where you will see a list of all your recorded videos. To create a new recording, click on “Record New Video” at the top of the page to open the recording studio. 

Recorded videos  Record new video button


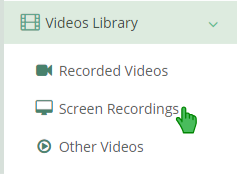
To record your screen, click on the “Videos Library” drop-down, and select “Screen Recordings.” This is where you will see all your screen recording videos. To start a new recording, click on “Start Screen Capture Recording” at the top of the page.

Screen recording Screen recording button


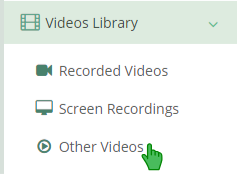
To upload a video, click on the “Videos Library” drop-down, and select “Upload Video,” to upload a video from your device. To upload your video, click on “Create New Video” at the top of the page.

Create new video Create new video button


3. From the message editor


If you go directly to compose a message, you will be able to record a video from the message editor, or upload an existing video.

To access the message editor, click on the “Compose Message” icon at the top of the page. 

Compose message


To record a new video, simply click on the “Record Video” button to open the recording studio. 

Record video button


To insert an existing video into your message, click on the “Insert Video From Library” icon. 

Insert video from library


If you are using a message template for your email, you will see a video placeholder in the template. Simply click on the video placeholder and click on either the “Record Video” or “Insert Video From Library” buttons to add your video to the message template. 


Once you have composed your message and added your video, you are ready to send it off! You can send it immediately or schedule it for later. 

For a detailed tutorial on how to send a video by email with Cheers Video Mail, watch: 

Script
Embed
How to create a new video in Cheers Video Mail.

First, log into your account by visiting  https://casa.cheersvideomail.com.

Click on the mini-studio icon at the top of the page.

You have now entered the mini-studio.

Open the camera to start.

Your default camera will be detected. For example, if you have a secondary webcam on your computer or on your phone you can select your front or rear facing camera. If your device has another camera, you can switch to it in the Available Cameras drop-down.

You can also choose which video format you would like to use to record. 

Your options are HD or VGA. 

Check off the Portrait box if you are recording in portrait mode.

Finally, choose a production template to design the frame of your video. Production templates allow you to customize your recording’s resolution, default poster, and stamp.

To learn how to create your own Production Template, check out the "How   to Create a Production Template" tutorial. 

Now you’re ready to start recording a video!

First, you’ll want to take a snapshot for the poster image.

Then click the record button to start recording!

Click the stop button to finish your recording.

Give your video a title.

You can personalize your poster image by adding text on top of it. 

For the poster overlay, you can click on the  Copy Video Title button to keep the title and overlay text the same. Save and upload your video to preview the final version.

You have successfully saved a new video.

Now you have several options.

First, you can choose to Reproduce Your Video Recording. 

You can redo the whole video, or just the poster if you choose. 

Once you are happy with your recording, click Save, Overwrite and Upload.

From here you can share your video anywhere online with the public URL.

Or you can embed it into a webpage with the embed code.

You can also start a message directly from the video.

Congratulations! You have successfully recorded a video!

Don’t forget, there are several other ways that you can access the mini-studio. 

First, on the navigation panel, click on Messages and Inbox.

Click on the mini-studio icon at the top of the page.

Second, when composing a new email, click the Record Video button within the email.

Or third, on the navigation panel click on Video Library and Recorded Videos.

Then click on  Record New Video at the top of the page.

That’s all! Enjoy recording and producing videos with Cheers Video Mail.
< iframe src='/Videos/how-to-create-a-new-video/13' width='650' height='390' scrolling='no' webkitallowfullscreen mozallowfullscreen allowfullscreen> </iframe>
For more tutorials visit: Learn How to Use Cheers Video Mail

Cheers!